🌟 New Arrival! Upgrade Your Water with Our Advanced Pitcher Filter. Shop Now
October 2022
How to Make Clear Ice — And Class Up Your Cocktails
If you’ve been to a fancy cocktail bar in the last 10 years, then the chances are good that you’ve been exposed to the fast-growing world of artisanal ice. Not to mention, good quality ice makes for much better-tasting cocktails!
A lot of time and effort goes into the juices or cocktails we drink, and plenty of people make deliberate choices about the glassware in which they serve their drinks. It’s not surprising, then, that people have begun to focus on the ice used to cool these craft beverages.
In the world of artisanal cocktail ice — which includes ice cubes in a variety of shapes large enough to harken back to our days of high school geometry — one feature stands out above all others: crystal-clear ice.
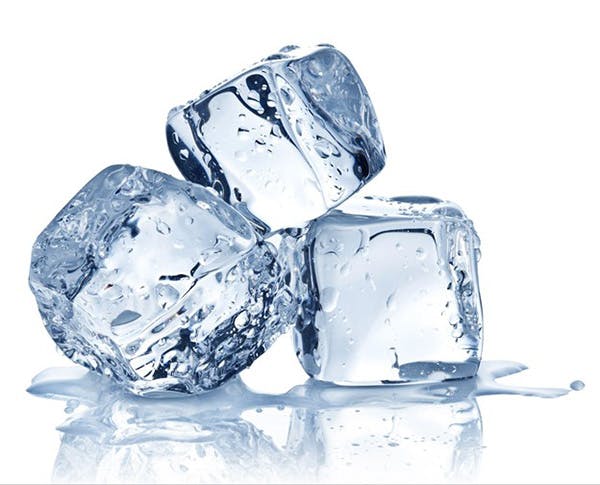
There’s something mesmerizing about staring at a clear ice cube and being able to see through a block of ice to the other side. If you’ve already been spoiled by the joy of a beverage cooled by crystal-clear ice cubes, then you’re probably ready to leave regular ice behind entirely.
And here’s the good news: You don’t have to pay high prices for a craft cocktail to experience clear ice cubes for yourself. In fact, with our help, you can make crystal-clear ice cubes at home. Here’s everything you need to know about clear ice cubes, and how to make clear ice yourself.
Why Is My Ice White Instead of Clear?
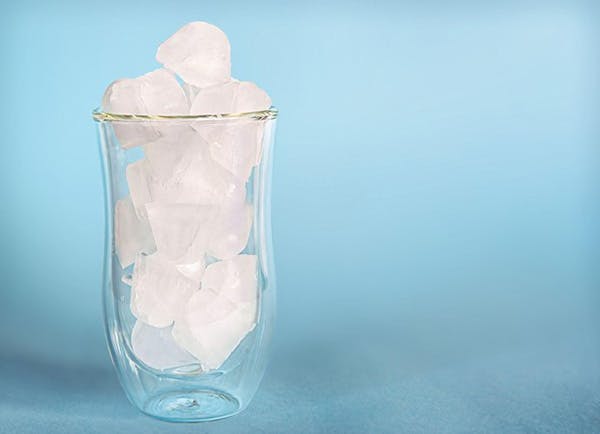
If we’re going to learn how to make clear ice, first we need to understand why the ice in our freezer’s ice cube trays is currently white and cloudy.
Cloudy ice forms for two basic reasons: the quality of the water and the way the ice was frozen. We’ll take each of these problems in turn, starting with water quality.
Water quality matters with ice just as much as it does with drinking water. This makes intuitive sense: If you froze some muddy water, you’d be left with a muddy ice cube. To make crystal-clear ice cubes, you’ll need to use high-quality water.
Here are the two things you’ll need to watch out for in your water if you want to make clear ice cubes:
Impurities
If left unfiltered or untreated, tap water will have impurities. These impurities can range from sediment to harmful chemicals to heavy metals, and all of these impurities show up in our freezer’s ice cube trays.
For this reason, the very first step you should take in your quest to make clear ice cubes is to use filtered water. If done properly, filtered water lacks all of the impurities that are present in tap water, and will have less cloudiness than tap water.
Air Bubbles
Tap water has another problem besides impurities though. That white coloring and foggy look of cloudy ice you see in your ice cube trays at home comes in part from tiny air bubbles trapped in the ice.
If you’ve ever seen an old pane of glass, you might be familiar with how air bubbles can distort what would otherwise be a clear view. This is true in ice too: Air bubbles distort light traveling through the ice and make the ice look cloudy.
Here’s How to Make Clear Ice
Now that we know what causes cloudy ice, it’s time to learn how to make clear ice cubes. To figure out how to make clear ice, we’ll need to solve the problems we just went over: impurities and air bubbles.
How Can I Remove My Tap Water’s Impurities?
Look at your local water report and you will likely see a lot of contaminants listed. Contaminants, or impurities, such as calcium, manganese, arsenic, fluoride, etc. may all be in your water. To tackle the problem of impurities, you can shell out money for distilled water, but this requires regular trips to the store (and regularly opening your wallet).
A better option for eliminating impurities in your home’s tap water is to invest in a home water filtration system. HomeWater is an industry leader that can help you pick the right home water filtration system for you and your family. Filtering your water by using water conditioners or softeners removes reduces many of the contaminants that lead to “foggy” ice.
We should note here that a home water filtration system isn’t just useful for making clear ice cubes. It’s also an important safeguard for your family’s health, because these systems can filter out the harmful contaminants and impurities that may be present in your regular tap water.
How Can I Remove My Tap Water’s Air Bubbles?
Fixing the impurities in your tap water is a simpler solution than removing air bubbles. To solve the problem with air bubbles (and start making crystal-clear ice cubes in your very own ice cube trays), we’ll need to use thermodynamics to our advantage.
Thermodynamics is a five-syllable word that may sound intimidating, but don’t worry: We don’t need a physics degree to make clear ice cubes. Instead, we need to look at four different freezing methods that can remove these air bubbles.
Method 1: Boil (and Re-Boil) Your Filtered Home Water
This freezing process for making clear ice cubes is fairly straightforward. After you’ve fixed the problem of impurities in your tap water with a home filtration system, you’ll want to boil a pot of your filtered water.
Boiling water helps remove the air bubbles suspended in water by removing the dissolved gasses; it’s these air bubbles that make ice cubes cloudy. By boiling the water and removing those air bubbles, you’re able to make clear ice.
Boiling water once is good, but boiling water twice is better for the purposes of making clear ice, so let the pot of filtered water cool down to room temperature after the first boil. Then, crank the heat up again, get the filtered water to another rolling boil, and then take it off the heat to let it come down to room temperature for a second time.
Finally, divvy up your twice-boiled filtered water into ice cube trays and stick them in the freezer. Voila! Thanks to boiling water, you should have clear ice cubes free from any cloudiness. And that’s how to make clear ice!
Method 2: Directional Freezing
Here’s where we start to get into thermodynamics. Remember those pesky air bubbles we talked about? They form as water cools quickly in a normal ice cube tray.
In these ice cube trays, the cube of water freezes from the outside in. This makes some intuitive sense: The water is warmer than the rest of the freezer that’s surrounding it, so the first parts of the water in your ice cube tray to freeze will be on the outsides of the cube.
As the surface area of the water freezes, those air bubbles are squeezed inwards toward the still-liquid center of the ice cube, until the center itself freezes with all of those bubbles in place. The result is a cloudy block of ice.
To solve this problem, you can take steps to change which sides of your water freeze first. This is called directional freezing. Here’s how you implement directional freezing (fair warning, this is going to sound weird): You put a cooler in your freezer.
Yes, yes, this sounds crazy, but trust us, it works! Take a hard-shell insulated cooler that’s small enough to fit in your freezer, and fill it with your filtered water. For best results, fill it with twice-boiled filtered water.
Leave the top open and stick it into your freezer. Now, the water you’re freezing will be insulated on the bottoms and sides by the cooler, and will only be exposed to the cold temperatures of your freezer on its top layer.
This top layer will freeze first, and then the rest of the water in the insulated cooler will freeze from the top down, pushing all of those pesky air bubbles to the bottom of the block of ice.
Once this block of ice is frozen solid, you’ll need to get the ice out of the insulated cooler. An ice pick and a mallet are a good tool combination for this, but however you do it, get the large block of ice out and onto a cutting board.
Your final step for making clear ice with this freezing method is to remove the bottom layer, which might be cloudy from those pesky air bubbles. Using a serrated knife on a cutting board is a great way to remove this layer and separate the block into crystal-clear ice cubes ready for your craft cocktails.
Method 3: Slow Freezing
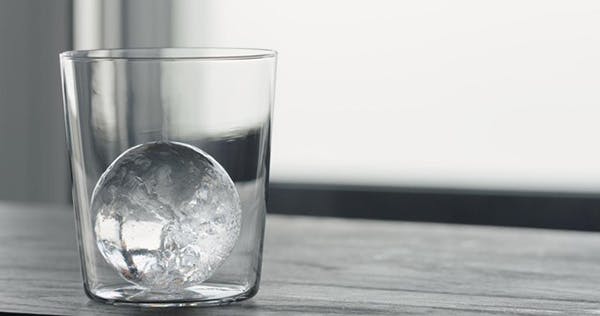
The final freezing method for making clear ice is a simple one — you could even call it old-fashioned. All you need to do to start making clear ice balls with this freezing process is to turn the heat up in your freezer to just below the freezing point of water (around 30 degrees Fahrenheit).
This method works because it greatly increases the time it’ll take for the water you put in your freezer to actually freeze. Average freezer temperatures that freeze water quickly trap these air bubbles within ice cubes, but a higher freezer temperature and slower freezing process will give air bubbles time to be released from the water, leaving an air bubble-free block of ice.
That’s it! While this is the simplest freezing method for making clear ice, keep in mind that it’s not a great option if your freezer is full of other items that you want to stay extremely cold.
Method 4: Buy a Specialty Ice Maker
If you’re not into DIY solutions for making the best ice possible at home, you can always invest in a specialty home ice maker. The advantage of one of these ice makers is their ease of use, although you’ll have to shell out money (and counter space) if you choose to go this route. Just be sure to use filtered water with it!
Kick Back and Relax With Your Homemade Clear Ice
Now that you’ve learned why the ice in your freezer is currently cloudy, and the four best methods for making clear ice at home, there’s only one thing left to do: Choose the best method for you and your family, and start cranking out the best ice in your neighborhood.
Remember that clean, filtered water is not only the foundation for making clear ice at home, but also for safeguarding your health and the health of your family. If you’d like to learn more about filtered water, you can read up on a variety of related topics on the Homewater blog.
Better yet, you can take a look at Homewater’s different filtration systems to figure out the best way to start enjoying clear, clean water — and clean, clear ice — today!
Brought to you by homewater.com
All images licensed from Adobe Stock.


